目前用的比较多的网盘有Nextcloud、Seafile等,都还不错,而刚刚在loc看到树洞外链的作者开发出了个功能更强大的Cloudreve网盘。

Cloudreve网盘主要定位是小文件分享、图床。但许多人把他理解为网盘,提出的建议也都向网盘靠拢。Cloudreve的定位为小型公有云和私有云,即公私兼备。
官方网站:https://www.cloudreve.org/
官方文档:https://docs.cloudreve.org/
Github :https://github.com/cloudreve/Cloudreve
功能特性
- ☁️ 支持高达七种存储策略作为存储端的存储容器
- ? 上传 / 下载 支持客户端直传,支持下载限速
- ? 可对接 Aria2 进行离线下载
- ? 在线 压缩 / 解压缩、多文件打包下载
- ⚡ 拖拽上传、目录上传、流式上传处理
- ??? 支持多用户及用户组管理
- ? 创建文件、目录的分享链接,可设定自动过期
- ?️?️ 视频、图像、音频、文本、Office 文档在线预览
- ? All-In-One 打包,开箱即用
- ? 更多特性 … …
Cloudreve 安装部署
# 下载包文件
wget --no-check-certificate  https://github.com/cloudreve/Cloudreve/releases/download/3.3.1/cloudreve_3.3.1_linux_amd64.tar.gz

# 解压得到二进制执行文件
tar -zxvf cloudreve_3.3.1_linux_amd64.tar.gz

# 赋予执行权限
chmod +x ./cloudreve

# 启动 Cloudreve
./cloudreve
Cloudreve 在首次启动时,会创建初始管理员账号,请注意保管管理员密码,此密码只会在首次启动时出现。如果您忘记初始管理员密码,需要删除同级目录下的cloudreve.db,重新启动主程序以初始化新的管理员账户。
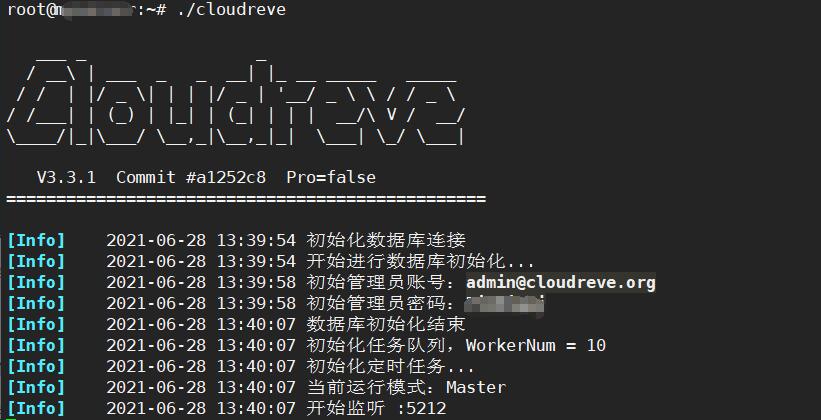
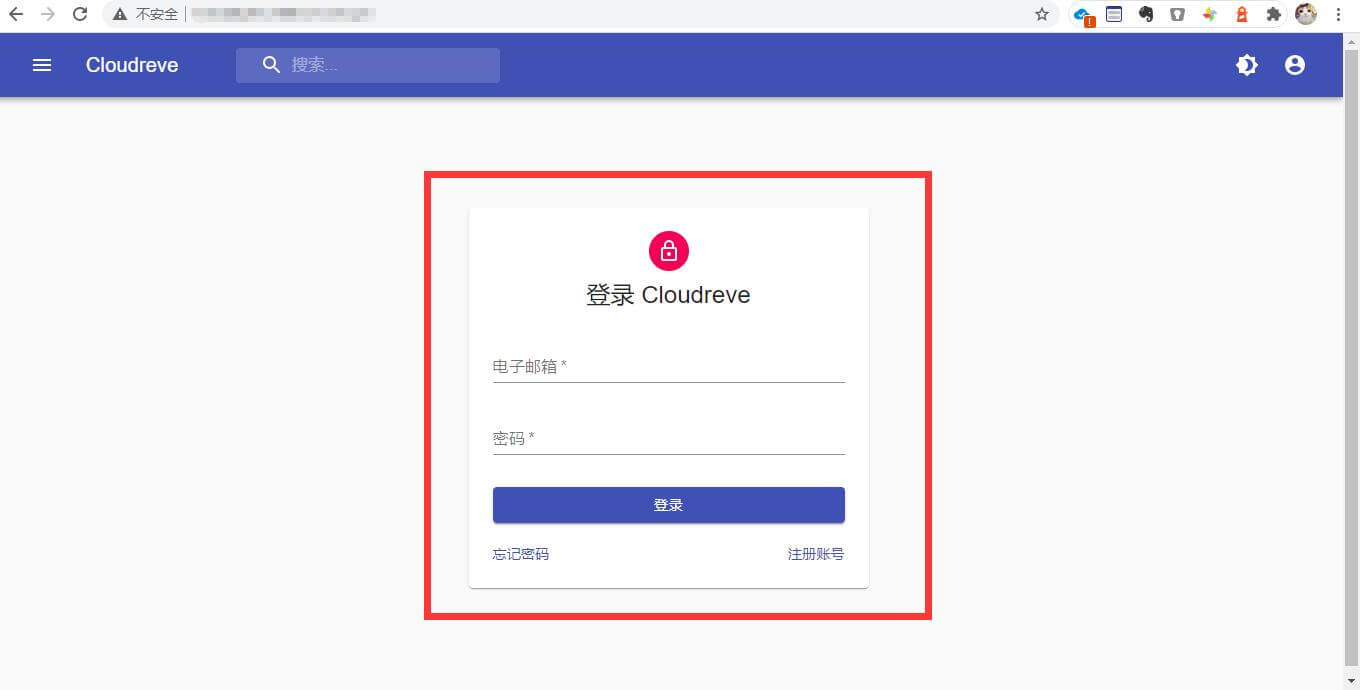
Cloudreve 默认会监听5212端口。你可以在浏览器中访问http://服务器IP:5212进入 Cloudreve。如果无法访问请检查防火墙确保5212端口开放。
自定义配置文件
首次启动时,Cloudreve 会在同级目录下创建名为conf.ini的配置文件,可根据自己的需求修改配置文件,保存后需要重新启动 Cloudreve 生效。
当配置文件conf.ini与二进制执行文件 cloudreve 不在同一目录,可以在启动时加入-c参数指定配置文件路径:
./cloudreve -c /path/to/conf.ini完整配置文件示例如下(请根据个人实际需要选择性的配置):
[System]
; 运行模式
Mode = master
; 监听端口
Listen = :5212
; 是否开启 Debug
Debug = false
; Session 密钥, 一般在首次启动时自动生成
SessionSecret = 23333
; Hash 加盐, 一般在首次启动时自动生成
HashIDSalt = something really hard to guss

; SSL 相关
[SSL]
; SSL 监听端口
Listen = :443
; 证书路径
CertPath = C:\Users\i\Documents\fullchain.pem
; 私钥路径
KeyPath = C:\Users\i\Documents\privkey.pem

; 启用 Unix Socket 监听
[UnixSocket]
Listen = /run/cloudreve/cloudreve.sock

; 数据库相关,如果你只想使用内置的 SQLite数据库,这一部分直接删去即可
[Database]
; 数据库类型,目前支持 sqlite | mysql
Type = mysql
; MySQL 端口
Port = 3306
; 用户名
User = root
; 密码
Password = root
; 数据库地址
Host = 127.0.0.1
; 数据库名称
Name = v3
; 数据表前缀
TablePrefix = cd_
; SQLite 数据库文件路径
DBFile = cloudreve.db

; 从机模式下的配置
[Slave]
; 通信密钥
Secret = 1234567891234567123456789123456712345678912345671234567891234567
; 回调请求超时时间 (s)
CallbackTimeout = 20
; 签名有效期
SignatureTTL = 60

; 跨域配置
[CORS]
AllowOrigins = *
AllowMethods = OPTIONS,GET,POST
AllowHeaders = *
AllowCredentials = false

; Redis 相关
[Redis]
Server = 127.0.0.1:6379
Password =
DB = 0

; 从机模式缩略图
[Thumbnail]
MaxWidth = 400
MaxHeight = 300
FileSuffix = ._thumb
MySQL (推荐)
默认情况下,Cloudreve 会使用内置的 SQLite 数据库,并在同级目录创建数据库文件cloudreve.db,如果要使用 MySQL,请在配置文件中加入以下内容,并重启 Cloudreve。注意,Cloudreve 只支持大于或等于 5.7 版本的 MySQL 。
[Database]
; 数据库类型,目前支持 sqlite | mysql
Type = mysql
; MySQL 端口
Port = 3306
; 用户名
User = root
; 密码
Password = root
; 数据库地址
Host = 127.0.0.1
; 数据库名称
Name = v3
; 数据表前缀
TablePrefix = cd
SQLite 转 MySQL请参考:https://forum.cloudreve.org/d/1460 可使用 PHPMyAdmin 进行操作,导入时可能会报错,请自行根据错误解决,同时还需要注意时区设置。
Redis (推荐)
你可以在配置文件中加入 Redis 相关设置:
[Redis]
Server = 127.0.0.1:6379
Password = your password
DB = 0
请为 Cloudreve 指定未被其他业务使用的 DB,以避免冲突。
重启 Cloudreve 后,可注意控制台输出,确定 Cloudreve 是否成功连接 Redis 服务器。使用 Redis 后,以下内容将被 Redis 接管:
- 用户会话(重启Cloudreve后不会再丢失登录会话)
- 数据表高频记录查询缓存(如存储策略、设置项)
- 回调会话
- OneDrive 凭证
关于 SSL
示例中 SSL相关配置只针对使用 Cloudreve 内置 Web 服务器的情境下有效。反向代理 Cloudreve,推荐在 Web 服务器中配置 SSL。你需要在Web服务器中新建一个虚拟主机,完成所需的各项配置(如启用HTTPS),然后在网站配置文件中加入反代规则:
Nginx 配置
在网站的server字段中加入:
location / {
    proxy_set_header X-Forwarded-For $proxy_add_x_forwarded_for;
    proxy_set_header Host $http_host;
    proxy_redirect off;
    proxy_pass http://127.0.0.1:5212;

    # 如果您要使用本地存储策略,请将下一行注释符删除,并更改大小为理论最大文件尺寸
    # client_max_body_size 20000m;
}
Apache 配置
在VirtualHost字段下加入反代配置项ProxyPass,比如:
<VirtualHost *:80>
    ServerName myapp.example.com
    ServerAdmin webmaster@example.com
    DocumentRoot /www/myapp/public

    # 以下为关键部分
    AllowEncodedSlashes NoDecode
    ProxyPass "/" "http://127.0.0.1:5212/" nocanon

</VirtualHost>
使用 Systemd 守护进程
SSH终端直接执行二进制文件仅限于前台运行,一旦退出终端程序也会随之退出,建议配置 Systemd 来守护管理 cloudreve 的服务。
# 编辑配置文件
vim /usr/lib/systemd/system/cloudreve.service
将下文 PATH_TO_CLOUDREVE 更换为程序所在目录:
[Unit]
Description=Cloudreve
Documentation=https://docs.cloudreve.org
After=network.target
After=mysqld.service
Wants=network.target

[Service]
WorkingDirectory=/PATH_TO_CLOUDREVE
ExecStart=/PATH_TO_CLOUDREVE/cloudreve
Restart=on-abnormal
RestartSec=5s
KillMode=mixed

StandardOutput=null
StandardError=syslog

[Install]
WantedBy=multi-user.target
修改完成后,执行以下命令:
# 更新配置
systemctl daemon-reload

# 启动服务
systemctl start cloudreve

# 设置开机启动
systemctl enable cloudreve
日常可以通过 systemctl 管理 cloudreve 的服务,
管理命令:
# 启动服务
systemctl start cloudreve

# 停止服务
systemctl stop cloudreve

# 重启服务
systemctl restart cloudreve

# 查看状态
systemctl status cloudreve