说明
目前OneDrive类OneIndex的目录程序已经很多了,体验都还不错。唯一的槽点就是api在高峰期抽风的时候,都很容易出现空目录的情况,导致下载会出现问题。今天再推荐一款基于Python3的简约OneDrive目录列表,同时换了一种api来防止因使用人过多导致抽风等问题,稳定性大大的增加,而且使用Redis动态缓存策略,打开目录的速度是相当的快,不过该程序并不支持在线视频的功能。
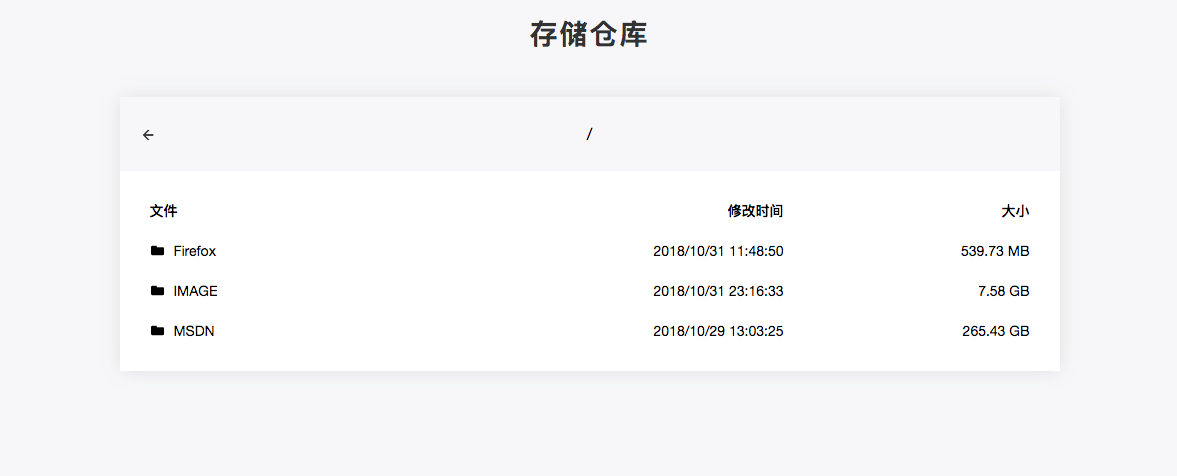
截图
安装
Github地址:https://github.com/0oVicero0/OneList/
说明:该程序不适用OneDrive个人版,且建议使用Debian系统安装,会很快。
安装依赖
CenOS 6系统:
#安装EPEL
rpm -Uvh https://dl.fedoraproject.org/pub/epel/epel-release-latest-6.noarch.rpm
#安装Python3和Redis
yum install python34 redis git -y
#安装pip3
wget https://bootstrap.pypa.io/get-pip.py
python3 get-pip.py
#启动Redis
service redis start
#设置Redis开机自启
chkconfig redis on
CenOS 7系统:
#安装EPEL
rpm -Uvh https://dl.fedoraproject.org/pub/epel/epel-release-latest-7.noarch.rpm
#安装Python3和Redis
yum install python36 redis git -y
#配置Python3软链接
ln -s /usr/bin/python3.6 /usr/bin/python3
#安装pip3
wget https://bootstrap.pypa.io/get-pip.py
python3 get-pip.py
#启动Redis
systemctl start redis
#设置Redis开机自启
systemctl enable redisDebian/Ubuntu系统:
#安装pip3和Redis
apt update
apt install python3-pip redis-server git -y
安装OneList
#拉取源码
git clone https://github.com/0oVicero0/OneList.git
#安装依赖
cd OneList && pip3 install -r requirements.txt获取auth_token:
使用浏览器访问该地址→传送门,登录你的OneDrive账号,复制地址栏code=和&session之间的参数。
获取refresh_token,在SSH客户端使用命令:
#将下面auth_token替换成你获取到的参数,再使用命令
code="auth_token"
wget --no-check-certificate --post-data="client_id=ea2b36f6-b8ad-40be-bc0f-e5e4a4a7d4fa&client_secret=h27zG8pr8BNsLU0JbBh5AOznNS5Of5Y540l/koc7048=&grant_type=authorization_code&resource=https://api.office.com/discovery/&redirect_uri=http://localhost/onedrive-login&code=$code" 'https://login.microsoftonline.com/common/oauth2/token' -qO-然后复制refresh_token参数后面的字段。
接下来在OneList目录新建config.json配置文件。
nano config.json将以下内容复制进去:
#将下面refresh_token替换成你获取到的字段
{
  "token": "refresh_token",
  "location_path": "/",
  "start_directory": "/",
  "refresh_seconds": 720,
  "metadata_cached_seconds": 768,
  "structure_cached_seconds": 840
}再使用ctrl+x、y保存退出。
开始运行:
gunicorn app:app -b 127.0.0.1:8888 -D此时访问地址为127.0.0.1:8888,还需要使用域名反代才能访问,如果你要使用ip访问,将运行命令改成0.0.0.0:8888即可。
域名反代
这里介绍Caddy和Nginx两种办法解决非80/443端口的转发
1、Caddy域名反代
安装Caddy:
wget -N --no-check-certificate https://raw.githubusercontent.com/ToyoDAdoubiBackup/doubi/master/caddy_install.sh && chmod +x caddy_install.sh && bash caddy_install.sh
#备用地址
wget -N --no-check-certificate https://www.moewah.com/source/caddy_install.sh && chmod +x caddy_install.sh && bash caddy_install.sh配置Caddy:
#以下全部内容是一个整体,请修改域名后一起复制到SSH运行!
echo "www.moewah.com {
 gzip
 tls admin@moewah.com
 proxy / 127.0.0.1:8888
}" > /usr/local/caddy/Caddyfile该配置会自动签发SSL,请提前解析域名到VPS服务器。
启动Caddy:
/etc/init.d/caddy start就可以打开域名进行访问了。
2、Nginx域名反代
Nginx做非80端口转发要做转发,可以使用Nginx的proxy_pass配置项。Nginx监听80端口,接收到请求之后就会转发到要转发的URL。
具体的配置如下:
server {
  server_name www.moewah.com;
  listen 80;

  location / {
    proxy_pass http://127.0.0.1:8888;
  }
}
是的,就是这么简单就可以了。这是配置端口转发的核心。
但是,当遇到需要获取真实IP的业务时,还需要添加关于真实IP的配置:
server {
  server_name www.moewah.com;
  listen 80;

  location / {
    proxy_pass http://127.0.0.1:8888;
    proxy_set_header Host $host:80;
    proxy_set_header X-Real-IP $remote_addr;
    proxy_set_header X-Forwarded-For $proxy_add_x_forwarded_for;
  }
}proxy_set_header这句配置是改变http的请求头。而Host是请求的主机名,X-Real-IP是请求的真实IP,X-Forwarded-For表示请求是由谁发起的。